Birds are nesting around your sewing machine because that space offers exactly what they look for: warmth, shelter, soft fibrous materials, and low foot traffic. Lint trays, thread spools, stored fabric, machine covers, and nearby window ledges or shelving units with ferns or plants all tick those boxes. Once you confirm whether the nest is active or not, the path forward splits cleanly: if eggs or chicks are present, U.S. law requires you to leave it alone until the young have fledged. If the nest is empty or still being built with no egg yet, you can act today to remove it and seal the space. If the nesting keeps coming back around the machine, you can also look at how to fix bird nesting sewing machine methods as a related next step.
Why Does My Sewing Machine Keep Bird Nesting? Causes and Fixes
Maya Bennett
26 Apr 2026
How to confirm where the nesting is happening and what it means
Before you do anything else, slow down and observe. Spend 10 to 15 minutes watching the area quietly. Look for repeated entry and exit points: a bird returning to the same spot every few minutes is a strong sign of an active or in-progress nest. Note which direction it comes from and what it carries in its beak. Grass, thread, lint, and feathers going in means nest-building. Food going in means chicks are present.
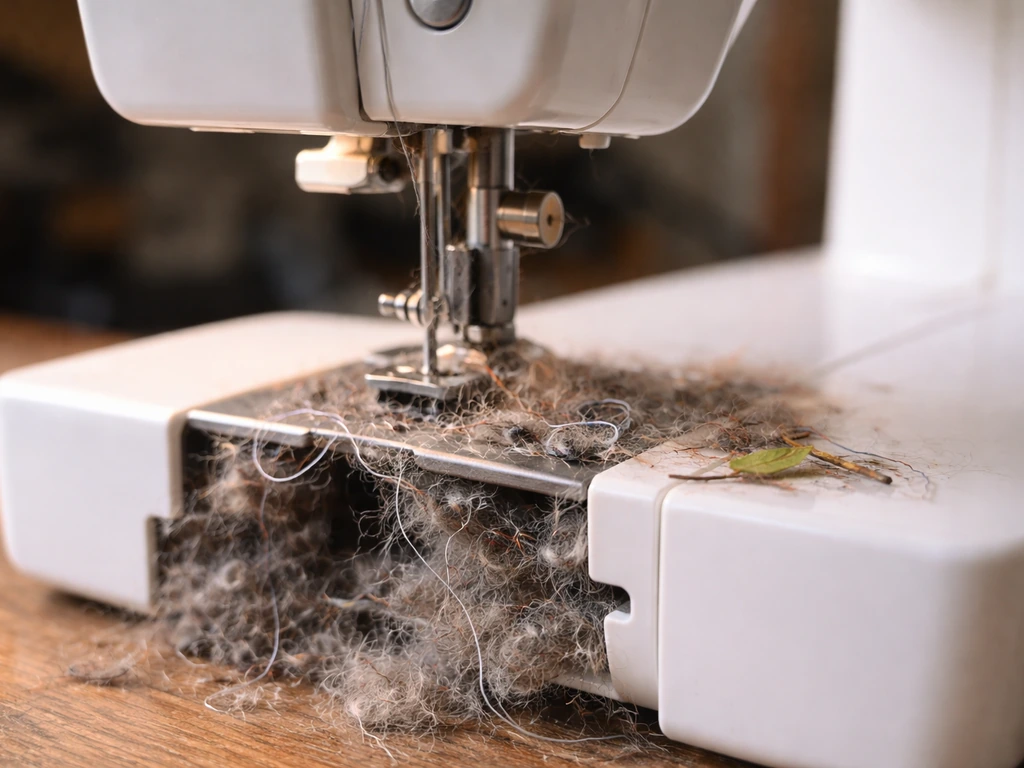
Then do a physical check. Look inside the lint compartment, under the machine's dust cover, in any open storage drawers or cubbies nearby, on window ledges within a meter of the machine, and behind or inside potted plants like bird nest ferns on the sewing table or nearby shelf. Use a flashlight. A nest looks like a compact cup or platform of woven grass, thread, moss, lint, or feathers, usually 3 to 6 inches across depending on species.
The USFWS defines an active nest as one where the first egg has been laid, and it stays active until fledged young are no longer dependent on it. A nest under construction with zero eggs is legally considered inactive. An empty nest with no eggs and no recent adult visits is also inactive. That distinction matters enormously for what you can legally do next.
| Nest Status | What You'll See | What You Can Do |
|---|---|---|
| Under construction, no eggs | Adults carrying materials, no eggs visible | Remove nest and seal access point immediately |
| Active (eggs present) | Eggs in cup, adult sitting or returning frequently | Do not disturb; wait for fledging |
| Active (chicks present) | Chick sounds, adults bringing food | Do not disturb; wait for independence |
| Inactive (empty, abandoned) | No eggs, no adults, dry cold materials | Remove nest, clean thoroughly, seal gap |
Why birds choose sewing areas: shelter, materials, warmth, and easy access
A sewing space is genuinely appealing to small cavity-nesting and semi-open birds from a biological standpoint. Here is what draws them in specifically. If you are wondering what causes bird nesting in embroidery spaces, the biggest drivers are warmth, shelter, and readily available soft materials like lint and thread.
- Warmth: Sewing machines generate low ambient heat, and the surrounding furniture, fabric stacks, and enclosed storage hold that warmth overnight. Cavity-nesting birds especially target enclosed warm spots.
- Soft nesting materials: Lint, thread off-cuts, cotton batting, fleece scraps, and loose fabric fibers are premium nesting materials. Birds actively forage for these because they improve insulation and cushioning for eggs.
- Shelter from weather: A sewing room with open windows, skylights, or a studio attached to a garage gives birds a dry, wind-protected cavity that mimics tree hollows or dense shrubs.
- Low disturbance: If the sewing space is a spare room, studio, or workshop that sits quiet for stretches of time, birds clock that and exploit the low-traffic window to build fast.
- Proximity to food: Sewing spaces near gardens, compost, or outdoor plantings put birds close to insects. Thread and lint supply the nest; insects nearby supply the food.
- Structural access: Open vents, gaps under machine covers, uncovered storage drawers, open shelving near windows, and dense potted plants like bird nest ferns all offer entry points and anchor points for nest construction.
House sparrows, house finches, and European starlings are the most common culprits in indoor or semi-indoor spaces in North America because all three are non-migratory and opportunistic in choosing nest sites. Wrens and chickadees will also exploit open windows and studio spaces if cover is available. Outside on ledges and in nearby planters, robins and mourning doves are frequent candidates. Knowing the likely species helps you predict timing and repeat behavior, which I will cover at the end.
Quick today triage: what to inspect and what to clean or remove first
Work through this in order. Do not skip steps or assume a location is clear without checking it physically.
- Observe quietly for 10 to 15 minutes before touching anything. Confirm whether you see adult birds entering or leaving. Take a photo or quick note of entry direction and frequency.
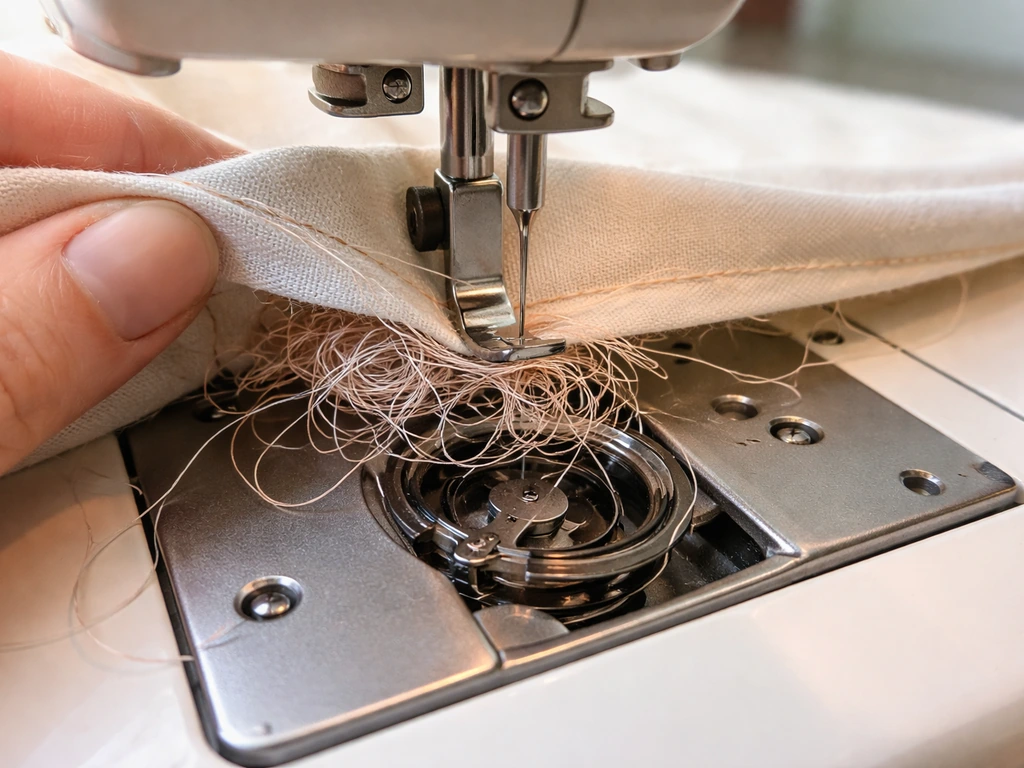
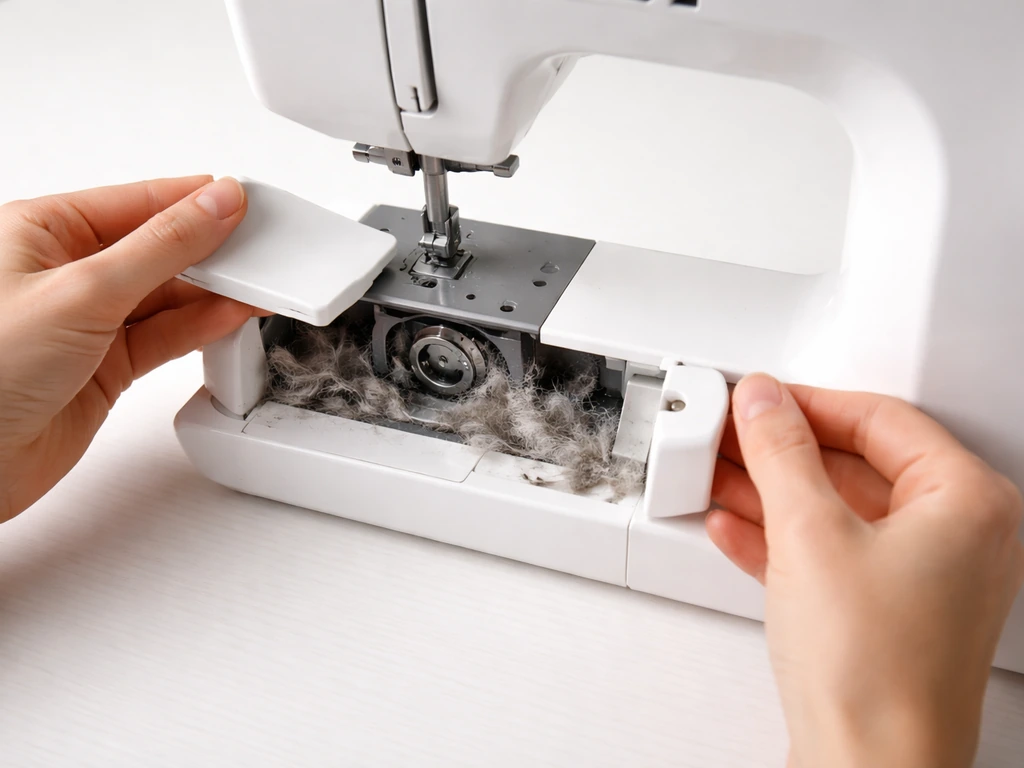
- Check the sewing machine lint compartment and bobbin area. Open it fully and look with a flashlight for fibrous material that does not belong there.
- Inspect the dust cover or machine case. Lift it entirely and look underneath, at the back, and in any folds or pockets where the cover pools.
- Open every storage drawer and cubby within 3 feet of the machine. Check corners and back panels where a bird could tuck a cup nest.
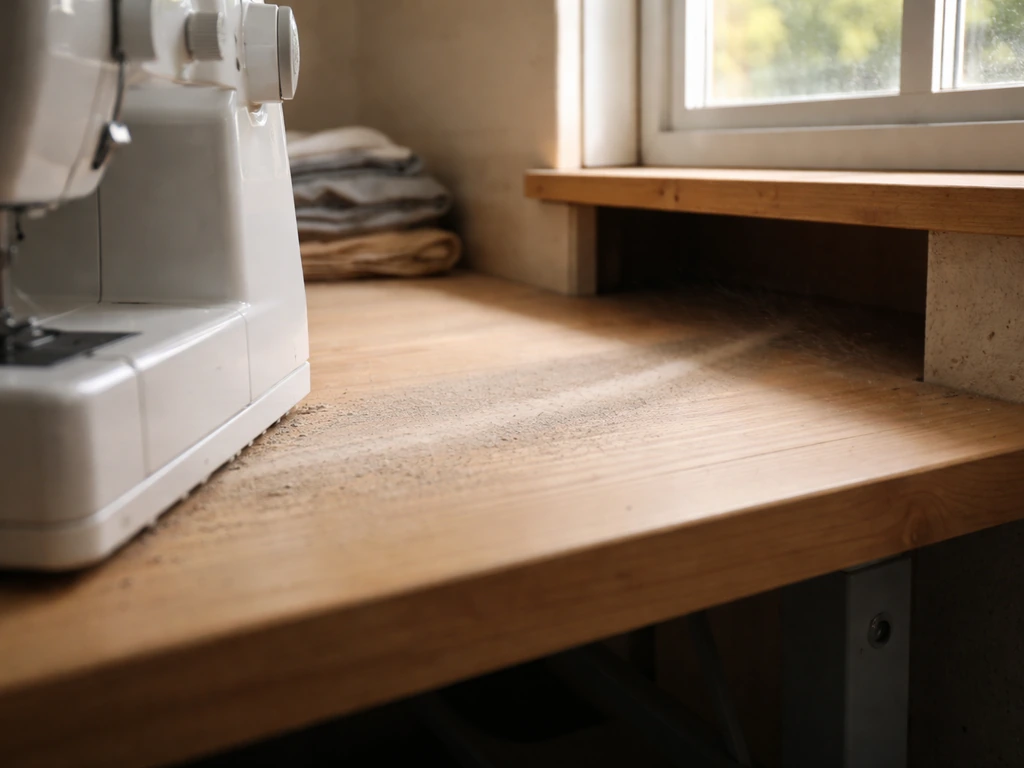
- Look at window ledges, curtain rods, and any shelving directly adjacent to windows or vents. Pay attention to corners where two surfaces meet.
- Check any potted plants on or near the sewing table. Bird nest ferns, in particular, mimic natural nest cavities and attract nest-building behavior.
- If you find no nest but do find lint accumulation, thread tangles, or loose fibrous material in gaps and cavities, clean those out now. That material is both an attractant and a foundation for future nesting.
- Note what you found, where, and the date. This becomes your baseline for seasonal prediction.
If you find a nest with no eggs and no adult present after 20 minutes of observation, this is the moment to act. Remove the nest material carefully using gloved hands, bag it, and dispose of it. Then clean the area with a damp cloth to remove scent markers and debris. Do not use chemical sprays inside the machine.
Active nest rules: ethical options, legal considerations, and when to wait
If you find eggs or chicks, stop. Under the Migratory Bird Treaty Act (MBTA) in the United States, it is illegal to destroy, move, or disturb an active nest containing eggs or dependent young for the vast majority of native bird species. The U.S. Fish & Wildlife Service also notes that the Migratory Bird Treaty Act makes it illegal to destroy a nest with eggs or chicks in it, or when young birds are still dependent on the nest for survival active nest containing eggs or dependent young. The USFWS is explicit: an active nest remains protected from the moment the first egg is laid until the young no longer depend on it. Violating this carries civil and criminal penalties.
The exceptions are narrow. House sparrows, European starlings, and feral rock pigeons are not protected under the MBTA and their nests and eggs can be legally removed at any stage. If you are confident of the species identification, that changes your options. When in doubt, treat the nest as protected and wait.
Here is what you can legally and ethically do while an active protected nest is present in your sewing space:
- Delay sewing work in the immediate area as much as possible to reduce stress on the brooding adult.
- If you must use the machine, move slowly and avoid sudden noise or vibration near the nest.
- Do not attempt to move the nest, even to a 'better' location nearby. Relocation of active nests is not permitted under MBTA protections.
- Keep other household pets and people away from the nest site during the active period.
- Monitor quietly every few days. Most small songbirds fledge within 12 to 21 days of hatching. Incubation before that typically takes 11 to 14 days. Total active window from egg to fledge independence is usually 3 to 5 weeks.
- Once adults and fledglings have fully vacated, the nest is inactive and you can remove it and seal the site immediately.
It is also worth knowing that 50 CFR §17.41 specifically prohibits intentional harassment of brooding adults, even outside of direct nest disturbance. Aggressively trying to scare a brooding bird off the nest repeatedly could constitute harassment under federal rules. 50 CFR § 17.41 includes species-specific rules for birds and prohibits intentional harassment of brooding adults, which helps explain why repeatedly trying to scare a brooding bird off the nest can be a violation. The safest and most ethical approach is simply to give the nest space and plan your prevention work for after fledging.
Non-harmful prevention for inactive nests: sealing, storage, and machine-cover practices
Once a nest is inactive and removed, the clock starts on your prevention window. After any nest is removed, use clean-up and sealing steps so you know how to prevent bird nesting when sewing from happening again. Birds return to successful sites, often the same season or the next year. Act within a day or two of removal.
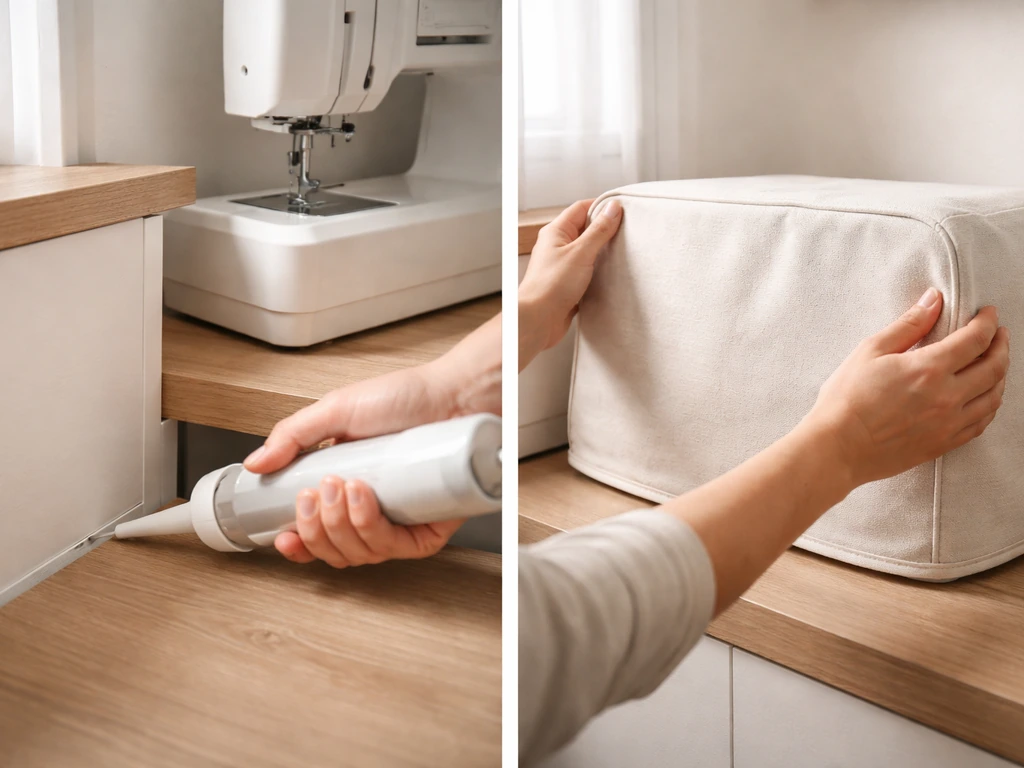
- Seal any gap, hole, or crack that gave the bird access. For indoor sewing spaces, this means checking window screens for tears, closing gaps around vent covers, and fitting any open shelf cavities with cardboard or foam inserts until you can install permanent closures.
- Cover the sewing machine with a fitted, snug cover every time it is not in use. A loose draping cloth creates new cavities; a fitted cover eliminates them. If you use a machine cabinet, close the cabinet doors.
- Move lint and thread scraps into sealed containers or covered trash immediately after each sewing session. Do not leave cut threads or batting scraps in open bowls or trays.
- Reorganize storage drawers so they close fully. Partially open drawers are prime nesting cavities for small birds in semi-open studios.
- Relocate or cover potted plants near the machine, especially any with dense, nest-like foliage. Bird nest ferns can be moved to a room without window access, or placed in hanging baskets with a physical barrier underneath.
- Install window screens rated for small bird exclusion (1/2 inch mesh or smaller) on any window left open during nesting season.
- Clean the area where the nest was located thoroughly. Remove all fibrous debris, wipe surfaces, and if possible air out the space to dissipate scent cues that signal 'safe site' to returning birds.
Deterrents that work without harming birds (and what to avoid)
Physical exclusion is always the most reliable deterrent. Everything else is secondary. But these non-harmful options work well as supplements, especially for outdoor ledges, window sills, and semi-open studio spaces.
- Bird slope panels or anti-perch strips on ledges and window sills: These create an angled surface that prevents landing and nest attachment without harming birds. Choose products without spikes that could entangle or injure small feet.
- Reflective tape or holographic ribbon near entry points: Birds dislike moving, flashing light. Hang strips near open windows or vents. Replace every few weeks because birds do habituate over time.
- Mesh netting over open shelving or storage cavities: Fine-mesh netting (1/4 to 1/2 inch openings) blocks access entirely without trapping birds.
- Motion-activated fans or air puffers near entry points: Gentle air movement startles birds approaching a space without causing harm. These work well for studio windows.
- Predator decoys used strategically: Owl or hawk silhouettes can deter some species temporarily. Move them every 3 to 4 days or birds will learn to ignore them.
- Remove all nesting material quickly: The moment you see thread, lint, or grass being collected near the machine, remove it. Early-stage deterrence is far easier than managing an established nest.
What to avoid: sticky gel repellents on any surface where birds might perch. These products can trap feet and feathers and cause injury or death, including to protected species. Avoid them entirely. Chemical repellent sprays near sewing equipment are also a bad idea: they damage machine components and fabric, and their effectiveness is inconsistent. Noise deterrents like ultrasonic devices have very limited peer-reviewed evidence for effectiveness with most common passerine species.
Seasonal timing and species or material clues to predict repeat nesting
Knowing when to expect nesting activity lets you get your prevention measures in place before birds arrive, which is always easier than managing an active situation. Most nesting activity in North America follows a predictable window, though it varies by latitude and species.
| Species | Typical Nesting Window | Nest Materials Used | Preferred Site Type |
|---|---|---|---|
| House sparrow | March through August (multiple broods) | Grass, feathers, string, lint, paper | Enclosed cavities, gaps, drawers |
| House finch | February through August | Twigs, grass, lint, string, cotton fibers | Ledges, planter pots, open shelving |
| European starling | March through July | Grass, feathers, trash, fabric scraps | Enclosed cavities, vents, wall gaps |
| Carolina/house wren | April through August | Twigs, leaves, bark, feathers, thread | Small enclosed boxes, drawers, pots |
| American robin | March through July (multiple broods) | Mud, grass, string, plant fibers | Ledges, window sills, fern crowns |
| Mourning dove | March through October | Loose sticks, minimal lining | Flat ledges, shelves, window sills |
The USFWS recommends completing any vegetation clearing or structure modification before the local nesting season begins, typically before late February to early March in southern states and before April in northern states. The same logic applies to your sewing space. Do your sealing, cleaning, and deterrent installation in late January or early February so birds scouting in early spring find the site already blocked.
Material clues also tell you a lot. If you find thread, embroidery floss, or cotton batting woven into a nest, you almost certainly have house sparrows or house finches, both of which forage actively for man-made fibers. If you’re seeing a top thread style nest under fabric, the same kind of cleanup and sealing steps can help you stop repeat nesting top thread bird nesting under fabric. Mud-reinforced cups suggest robins. A loosely piled twig platform with almost no cup structure points to doves. These identifications matter because non-migratory species like house sparrows and starlings will attempt multiple broods per year, meaning you could face repeat nesting two to four times in a single season if the site stays accessible.
Keep a simple log: date, species suspected, materials found, location, and what action you took. After one full year you will have a reliable seasonal map of when to tighten your prevention steps and when the pressure eases. That information is far more useful than any single fix because the real solution is staying one step ahead of the nesting calendar, not reacting after the eggs arrive.
FAQ
Is it ever safe to remove a bird nest if it looks unfinished under my sewing machine?
Yes, even with a “construction-stage” nest, treat it as protected if you see any recent adult activity. A nest can be legally inactive before the first egg, but if birds are still repeatedly entering and leaving, you may be dealing with an active timeline that changes your options quickly.
If I don’t see a nest on the sewing machine, how can birds still be nesting there?
Not necessarily. Birds can use a path that bypasses the machine itself, for example entering from a nearby shelf, then placing nesting material directly into the machine area. You should check lint trays, under covers, storage cubbies, and any nearby plants within about a meter, even if the nest isn’t visibly “on” the machine.
What should I do if I’m not confident which bird species is nesting in my sewing space?
If you are unsure about species, you should not rely on guesswork. MBTA protection depends on whether the birds are protected native species, so the safest approach is to pause removal and focus on non-harmful temporary access reduction until you can confirm.
How long do I need to watch before I can decide the nest is inactive?
Don’t count on “no birds seen for a few hours” as proof the nest is inactive. Use the same repeated-entry observation method for at least 20 minutes, and prioritize what you see being brought in (nest material versus food) to infer whether eggs or chicks are likely.
Can I keep using my sewing machine if there are eggs or chicks nearby?
If you find eggs or chicks, stop immediately and plan prevention for after fledging. If the machine must be used, the best compromise is to minimize disturbance and give the nest area space, rather than moving the machine or attempting to block the entry while young are still dependent.
Why do nests keep returning even after I remove the first one?
After removing an inactive nest, sealing matters more than just vacuuming lint. Birds reuse successful sites, so focus on closing entry routes (gaps under covers, open cubbies, gaps around window ledges) and then re-check for new material within the next couple of days.
What’s the safest way to clean after I remove an inactive nest?
Clean-up should be targeted, not chemical. Use a damp cloth to wipe debris and reduce scent markers, avoid spraying cleaners or repellents onto or near your machine, and remove loose debris from beneath covers so birds cannot rebuild on leftover material.
Is it illegal to scare a brooding bird away from my sewing room?
Yes, brooding birds can be protected even if you are not touching the nest. Repeatedly trying to scare them off or aggressively changing their environment can be considered harassment, so plan quiet, hands-off observation until it’s time for prevention work.
What repellents should I avoid around my sewing area?
Sticky gel repellents are a common mistake. They can injure birds by trapping feet or feathers, and they can also create a hazard in a studio where threads and fibers are present, so avoid gels entirely and use physical exclusion instead.
Do ultrasonic bird deterrents work to stop nesting around sewing stations?
Ultrasonic devices often fail in practice because birds can ignore them or birds in your area may not respond consistently. If you use deterrents at all, treat them as supplements, not the main barrier, and verify results by observing whether entry resumes after installation.
If a nest happens once in a season, should I expect it again?
Yes. Keep in mind birds can nest more than once per season for some species, especially opportunistic non-migratory birds. Your log of materials and timing helps you anticipate repeat attempts and tighten sealing earlier next time.
When is the best time to add prevention measures so birds don’t choose the site early?
Start before your local nesting peak, but don’t wait for the exact date on an internet guide. Use your observation log plus local winter-to-spring cues, then aim to complete sealing and exclusion before birds start scouting, typically late January through early spring depending on latitude.